Integrating WebDroid with WordPress
Website Integration
Add the following script to the end of the <body> tag, just before the closing </body> tag. Replace {{YOUR_BOT_ID}} with your actual bot ID.
<script async src="https://api.webdroid.ai/webdroid.js?bot_id={{YOUR_BOT_ID}}"></script>Here is how your html code should look like:
<!DOCTYPE html>
<html>
<head>
  <!-- Other head elements -->
</head>
<body>
  <!-- Other body elements -->

  <!-- Add the WebDroid chatbot script at the end of the body -->
  <script async src="https://api.webdroid.ai/webdroid.js?bot_id={{YOUR_BOT_ID}}"></script>
</body>
</html>
Wordpress Integration
Integrating WebDroid with your WordPress website involves a few simple steps. Here’s how you can get started:
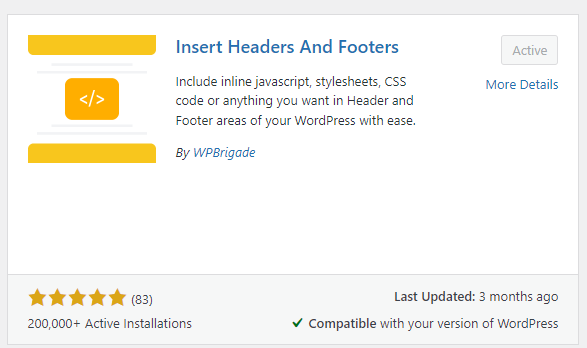
1. Install the 'Insert Headers and Footers' Plugin
Navigate to your WordPress dashboard. Go to the 'Plugins' section and click on 'Add New'.
Search for 'Insert Headers and Footers', find the plugin by 'WPBrigade', and click 'Install Now'.
Once installed, activate the plugin.
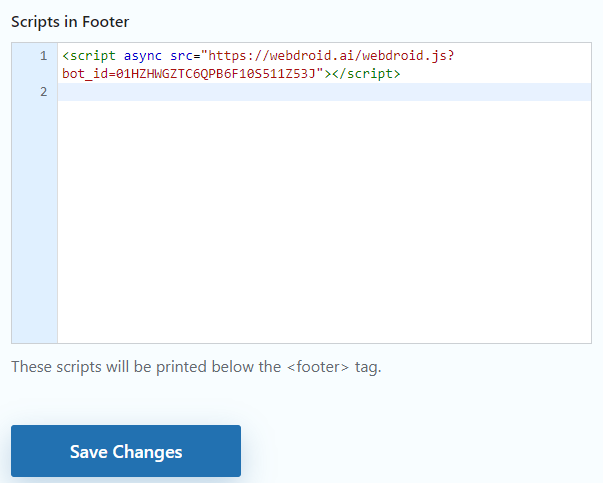
2. Add the Webdroid Script to the Footer
In your WordPress dashboard, go to 'Settings' -> 'WP Headers and Footers'. This will open the plugin’s configuration page.
Add the following script to the 'Scripts in Footer' section. Replace
{{YOUR_BOT_ID}}with your actual bot ID.Click 'Save Changes' to save your changes. It should look similar to this:
<script async src="https://api.webdroid.ai/webdroid.js?bot_id={{YOUR_BOT_ID}}"></script>